This article was originally published in Daryl’s Cooking with Kids column at examiner.com in September, 2013. Some links are affiliate links, meaning we get a small commission on purchases made through our links.
Making fresh applesauce is something every kid should get to do.
 We are lucky enough to know several people with apple trees, and many of them have more apples than they can handle. We just stop at their houses and ask if they mind us picking up, and they’re happy to let us do it. At one nearby house, we spent 10 minutes picking apples from the ground and ended up with a shopping bag full.
After a strong wind or a storm, you’ll find apples all over the ground. While they may not look as pretty and ones fresh from the tree, they’ll still make great applesauce. Not only do you end up with free applesauce, but if the trees are unsprayed it’s organic too!
The process in incredibly simple. We make it for eating right away, but you can also can your sauce.
Here’s how we do it.
First, have your kids help pick the apples off the ground. If you have a cute little helper like mine, you’re very lucky! Bruises and small bad spots on the apples are okay (you’ll cut them off), but ones with rotten spots should be avoided. Collect them and bring them home.
Have younger kids wash the apples off to remove any debris (grass, leaves, dirt, etc.).
With a sharp paring knife, have an adult or teen cut the sides from the core. I just do 4 cuts until I’m left with a square core. Cut off any bad spots or bruises that you don’t want in the sauce and put the good parts of the apple in a large pot. The cores and cut-off pieces can be saved for later or composted.
When you’re done cutting the apples (or the pot is 3/4 full), put about an inch of water in the bottom of the pot and put it on the stove over medium heat. Set your timer for 30 minutes and stir it occasionally to make sure all of the apples get evenly cooked.
After a half hour, check to see if your apples are soft enough. Ours were getting mushy, but weren’t quite done. We put them back on the burner and kept an eye on them. Since they were softer apples (Lodi, we believe) it only took an additional 15 minutes for them to soften completely. Turn the burner off and let them cool (at least 15 minutes).
Get your utensils ready. We use a large mixing bowl, a food mill (using the medium screen) (we’ve had this one for over 10 years and absolutely love it), and a ladle. *See notes at the end for instructions if you don’t have a food mill.
Scoop the apples from the pot and put them in the mill. Spin it around until everything that will go through has gone through. Do this a few times and then use a spoon to scrape any excess sauce from the bottom of the mill. Kids love spinning the food mill! You may want to hold the base of it for your child to keep it secure.
That’s it! If you’d like, you can add sugar and cinnamon, but we usually find it’s delicious as is. Sour apples are more likely to need additional sweetening. Kids can also add a sprinkle of cinnamon sugar on top when they have a bowl full later. And if you’d like more tartness or a different flavor, you can add other apples or even crab apples.
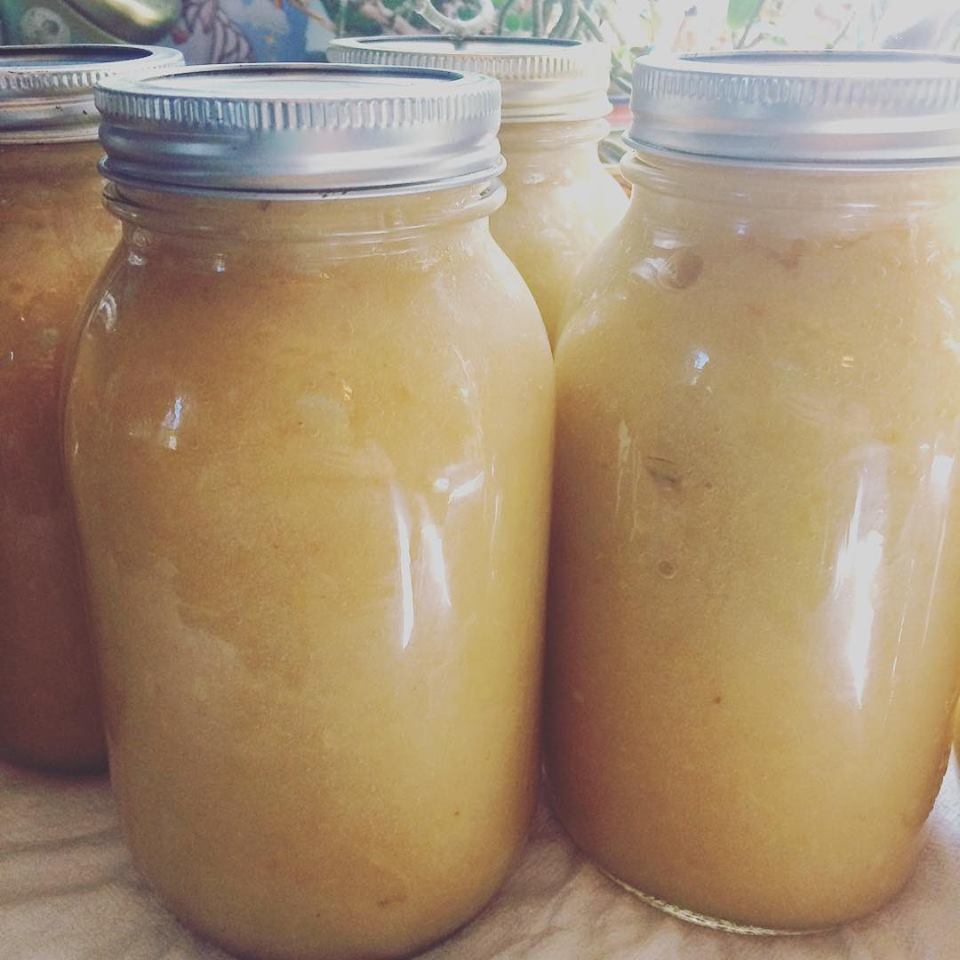
From our one bag of apples, we ended up with 7 pints of applesauce. With our family, that won’t last long.
If you end up with more applesauce than you can eat, you can use it as an ingredient in cakes or breads instead of oil (you can usually substitute half applesauce for oil in baked goods without telling a difference), or you can cook it down farther and make it into apple butter.
You can also freeze applesauce in freezer-safe containers. Be sure to leave about an inch of space on top to allow for expansion. This is a good way to sneak in a little science, by talking to your kids about how things expand when they cool. (Note from Alicia: We mostly can ours in a boiling water bath. Ladle hot applesauce into sterilized jars, leaving 1/2″ headspace and process pints for 15 minutes or quarts for 20 minutes, adding more time for higher altitudes.)
https://www.instagram.com/p/BlHKSeVgy0V/
The cores and cut-off spots (the “leavings”) can be put into the compost or saved in a plastic bag for other uses. There are many things you can make with the leavings, which will be covered in another article.
If you’d like to cut the peels off your apples for baking, I highly recommend getting a corer/peeler. I almost never use mine for the coring and slicing (I just cut it off the core and chop it myself so I can control the size of the pieces — larger for pie, smaller for bread), but it is incredible for peeling. You just press an apple onto the prongs, spin the handle, and away goes the peel. It took me and my son about 5 minutes to do 30 apples, and we saved the peels for making juice. My kids also love using the corer and they love to make apple spirals to munch, so it’s a great way to get kids to happily eat more fruit.
* If you don’t have a food mill and can’t find one to borrow, you can still make homemade applesauce but you’ll need to peel your apples first. Follow the rest of the instructions, and then mash your cooked, drained apples with a potato masher.


