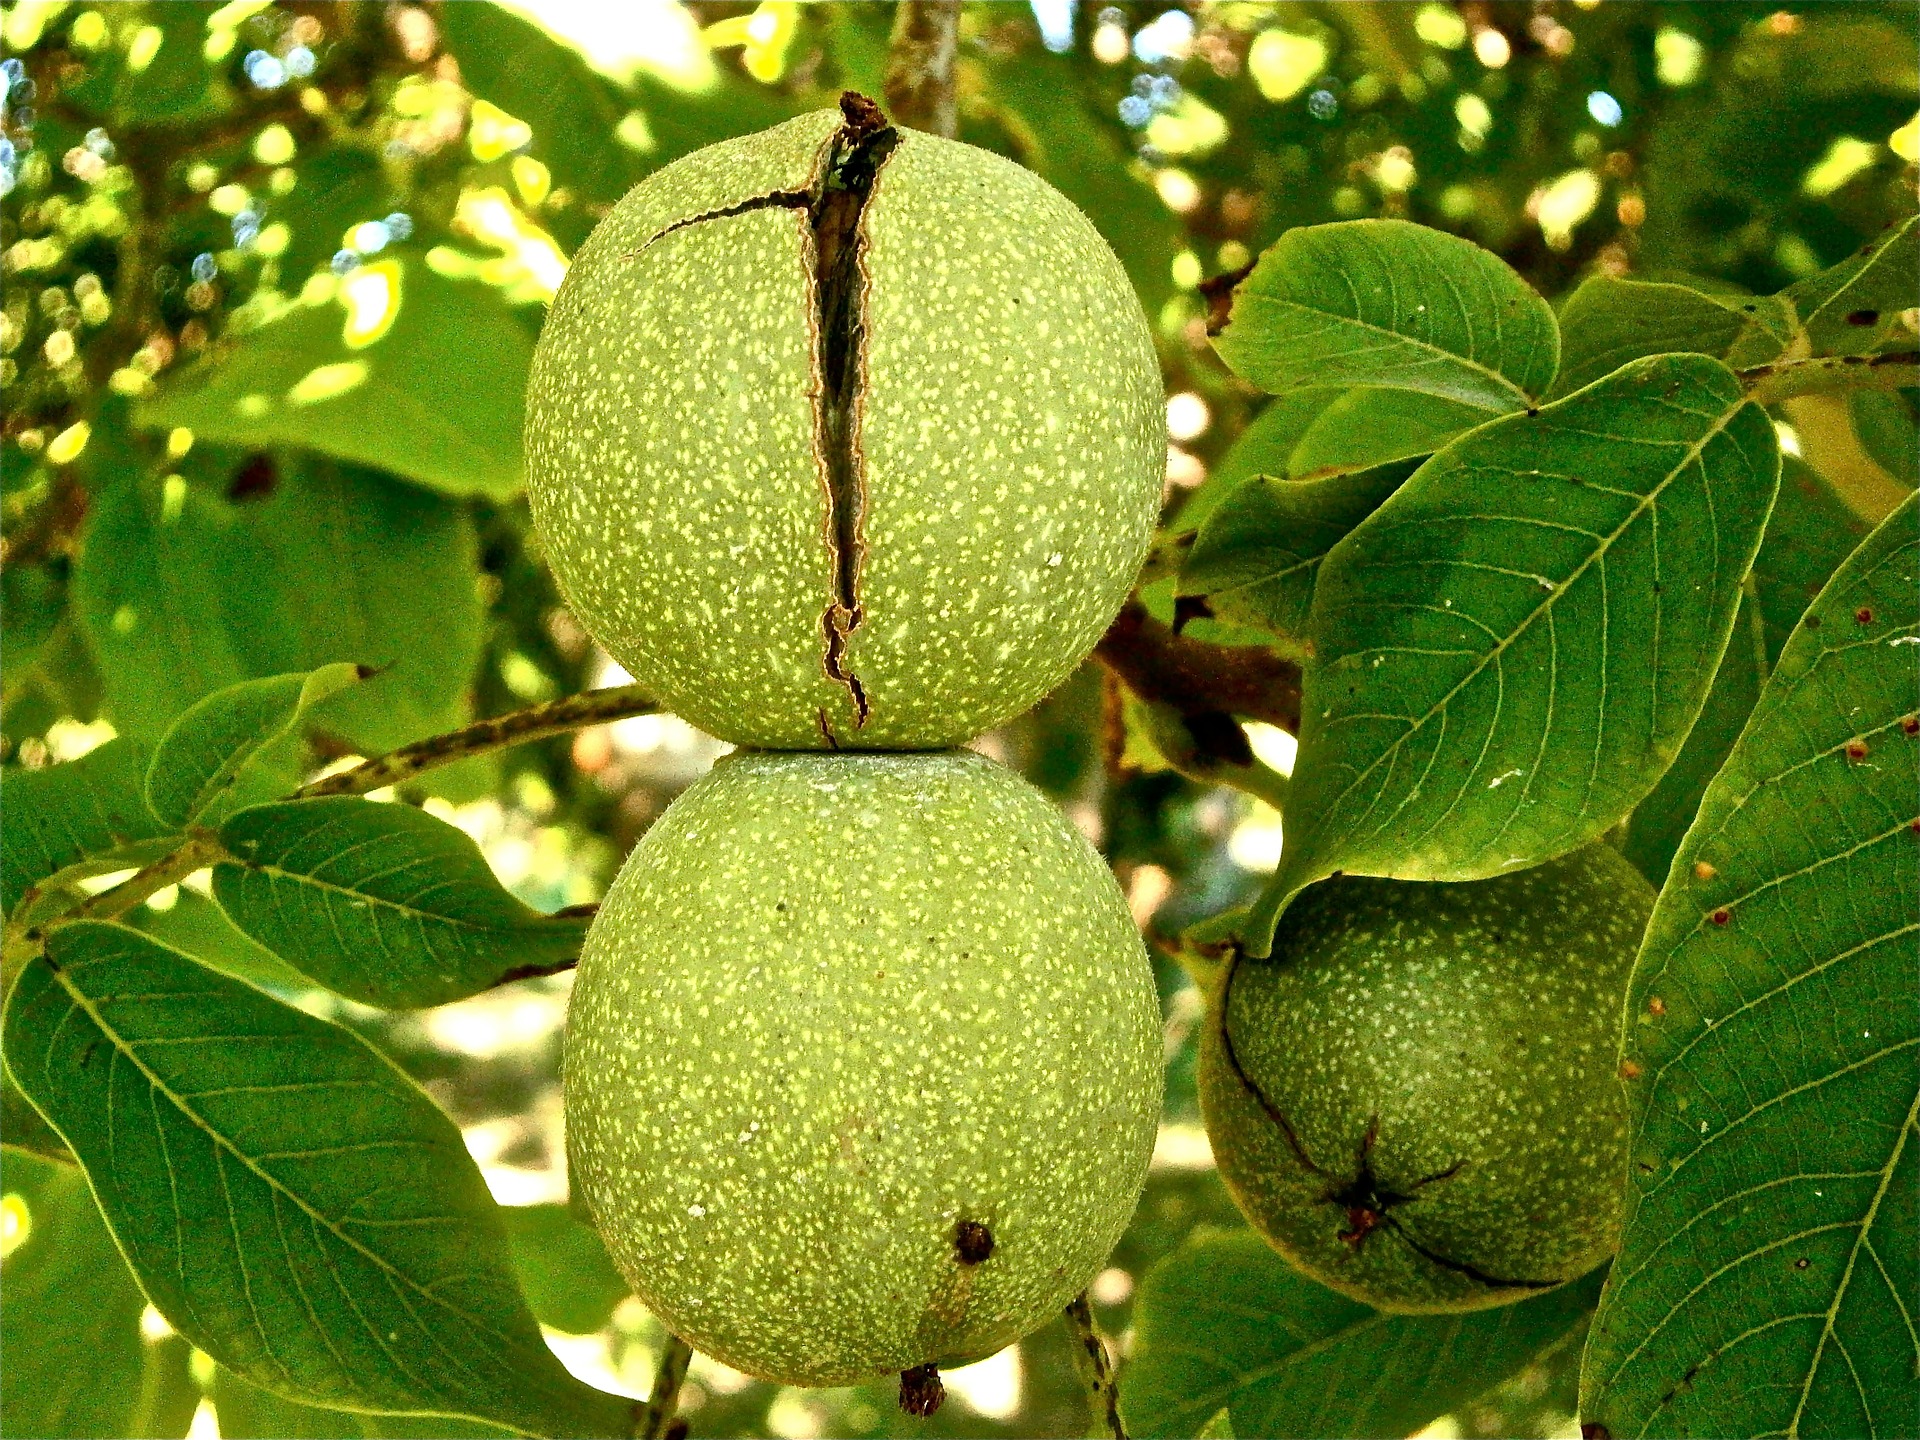
Have you ever walked through a park in the fall and stumbled over what looks like green tennis balls? Are you ready to make use of the black walnuts you see scattered all over your neighborhood? Gathering them is easy, and you’ll have a stash of delicious and nutritious treats when you’re finished.

Finding the walnuts:
To gather walnuts, all you have to do is find trees with walnuts growing on them. In our part of Minnesota, they’re everywhere, including in the wild (we live near Walnut Grove, named for a large grove of trees west of town). We’ve also found them in state parks (foraging is legal, by statute, but only for personal use), in county and city parks (call for permission), in town (get the owner’s permission — I’ve never been told no, and most are happy for the help in cleaning their yard), and on abandoned farmsteads (never trespass, but if the walnuts drop into the ditch or road they’re fair game).
This year we collected walnuts from old farmsteads, in four different county parks, at our church, and at about 10 different properties in town (including on the city streets). The walnuts in the husks ranged in size from golf balls to tennis balls.
I found them. Now what?
Collect them. They’ll look tempting towards the end of summer, but wait. In mid to late September, they’ll start falling off the trees, which means they’re finally ready. Pick them up off the ground, or give the tree a shake and then gather them. If they’re not ready, they won’t fall. If you pick them too early they’re not fully ripe and the meats won’t develop properly. (I had a number of bad ones this year, and they were from the walnuts I first gathered, including a lot my kids picked from the trees).
It’s a good idea to wear rubber gloves when you’re handling them, because the dye from the husks is impossible to remove and your fingers will be stained for days. I collect them in plastic shopping bags, because they’re easy to carry, a bagful is a good amount to handle at one time, and I don’t care if the bags get stained or ripped. It’s also a convenient place to keep the walnuts if they’re not ready to be shucked.
When are they ready to be shucked?
The walnuts are ready to be shucked when the husk (the outer coating) starts to soften and turns yellowish-green. If you can’t press your fingernail into the husk fairly easily, put the walnuts off to the side to ripen a little more. Check again in a week or so.
Don’t worry if the husks are black or have tiny worms in them. The worms are the larva of the husk fly and won’t affect the meats at all. The softer and darker the husks are, the easier they will be to remove.
How do you remove the husks?
This is the part my kids loved doing. You ‘ll need rubber gloves, a rubber mallet, a short block of wood (a 2 x 4 works nicely), and a 5 gallon pail. Safety goggles are also a good idea. Wear old clothes.
Pick up a walnut, put it on the block of wood, and hit it with the mallet until the husk splits open. Remove the husk and throw it away, put the walnut into the pail, and pick up another walnut. Repeat until you’re tired of doing it..
Mare sure you have a way to safely dispose of the discarded husks. They can be toxic to livestock and may be harmful to other plants. And did I mention they stain everything?
What do I do with the walnuts?
I usually leave the walnuts in the pail for a few hours to let them dry a little. After that, I put them in a drying bag, I’ve used onion bags in the past, and my father had ones made out of chicken wire, but for convenience I now use mesh laundry bags from the Dollar Tree. I get different colored bags so I can keep track of when I collected the walnuts (this year the first ones went in the blue bag, the second batch went in yellow, and the last batch were in the green bag). The bags may rip if you overfill them (like I did), so get two of each color and double bag them.
After you put the walnuts in the bag, hang it up somewhere in the open so the air can circulate around it. I hang the bags from my garage rafters and occasionally shake them to move the walnuts around to help with the drying. When a bag is full enough, start a new one.
And then…?
I let them hang there until spring when I have more time to deal with them (fall’s a busy foraging season). If you have a problem with squirrels getting into the bags (again, like I did), bring them inside and store them someplace cool like a cellar or porch. In spring, I harvest the meats and have a number of ways to preserve them and treats to make with them.
Other tips:
- The walnuts only have to dry for about 6 weeks before they’re ready to crack open. I just prefer to wait until spring. If you try to crack them before they’re fully dry, you’ll end up with a pile of mush.
- Some people dry them on screens before putting them in bags. I usually skip this step and it seems to work fine.
- A tip from England: “I dry walnuts in wicker baskets by the fire over the wintertime. Pick in October or November and there is normally some ready to eat by Christmas.”
***


1 thought on “Foraging walnuts 101”
What is urban foraging anyway? | A Magical Life
(September 9, 2015 - 5:15 pm)[…] on the ground. In the fall, check the ground for walnuts, acorns, and other tree nuts. In the spring, pick anything edible (consult your foraging guide). […]