Sure, you can go buy those orange cans of pumpkin puree at the grocery store, but making homemade pumpkin puree is so much more satisfying! It’s also much easier than you might think. Best of all, this time of year it’s incredibly cheap, even if you didn’t grow your own pumpkins.
My kitchen table is currently covered in pie pumpkins that I got absolutely free yesterday. I brought a friend to a local farm that our family has purchased from for years because I knew that right after Halloween they get rid of all of their thousands of extra pumpkins. I found one of the owners of the farm and asked her how many pumpkins $10 would get me and she answered, “Just take them! They’re all going to livestock. Take all you want!”. (Other years, they’ve told us to fill the trunk for $5.)
https://www.instagram.com/p/Ba_6XNFn4nz
We loaded up my friend’s car (and each purchased some other things we could use, like spaghetti squash and a big old bag of fresh jalapenos) and brought home more pumpkins than we could count.
Even if there is no local farm where you can go barter for pumpkins, many grocery stores sell them for next to nothing after Halloween, too.
Or you might do what we do and pile the old jack-o-lanterns and scooped seeds in a raised bed in the corner of the yard and let nature grow your own patch for the next year. 😉
https://www.instagram.com/p/Bo7lImQgTs6
Here’s all you do.
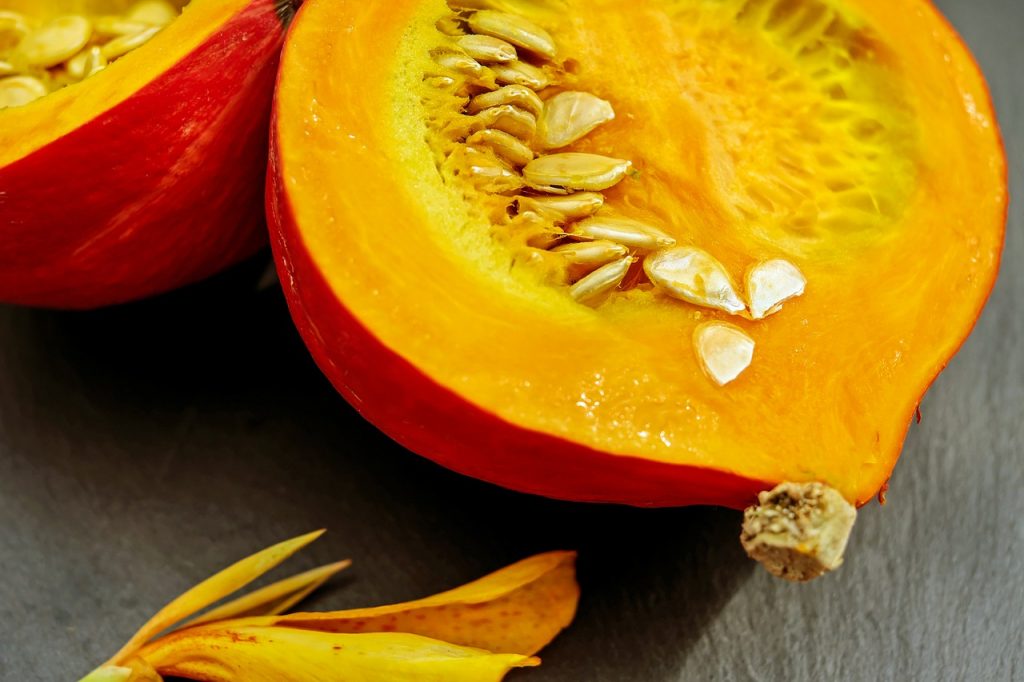
1. Get some pie pumpkins. These are smaller and heavier than your jack-o-lantern types and contain more flesh (and often taste better). Even before Halloween, we get ours at a family farm for a dollar a piece. Check for local farmers selling them at roadside stands. You can also use carving pumpkins, which will generally be super cheap this time of year at grocery stores.

If you don’t have pie pumpkins, you can use any other type of pumpkin too.
2. Wash the pumpkins, remove the stems (optional) and cut the pumpkins in half. Scrape out the seeds and stringy bits. Put the seeds aside for roasting later.
3. Put the pumpkin halves cut side down on rimmed cookie sheets (since some liquid may run off) or in baking pans. If you like, you can add a half inch of water to the bottom of the pan (I’ve done it both ways and don’t find it affects much, but it supposedly keeps the pumpkin moist).
4. Bake at 350 for about an hour to an hour and a half or until fork tender.
5. Allow the pumpkin halves to cool until you can handle them. Scoop out the flesh and discard the skins. The skins will often lift right off.
6. Puree in your food processor or mash well with a potato masher.
That’s it!
Some people recommend draining off excess liquids at this point, such as by straining in a double layer of cheesecloth for a few hours. I have never had watery puree, so I have never needed to do this step. If your pumpkin seems overly watery, you can line a colander with cheesecloth and let the juices run out until the consistency seems right.
The puree can be used now in pumpkin pies, muffins, pumpkin bars, pumpkin spice cupcakes, pancakes, soups, pumpkin lattes and much more.
If you want to freeze your pumpkin puree, put it in canning jars with about an inch of space at the top to allow for expansion. You can also freeze it in one or two cup portions in freezer bags, or you can freeze it in large muffin pans until frozen and then bag those up for easy one-cup portions.
Canning pumpkin is a much more complicated ordeal. Old school canners do can the puree but the official guidelines now say you should only can pumpkin cut into chunks. Either way, you need a pressure canner. This is the one I have, which I love (affiliate link).
To microwave: I roast my pumpkins because I love the flavor, it helps warm the house and it makes everything smell lovely. I also do a whole lot at once, and this is the most efficient way to do that. You can also cut the pumpkin into smaller pieces and microwave it. This will save energy if you’re only cooking one pumpkin and should take about 15 minutes. You’ll want to cover the pumpkin, add some liquid to the dish, check every few minutes and rotate the pieces to allow for even cooking.


