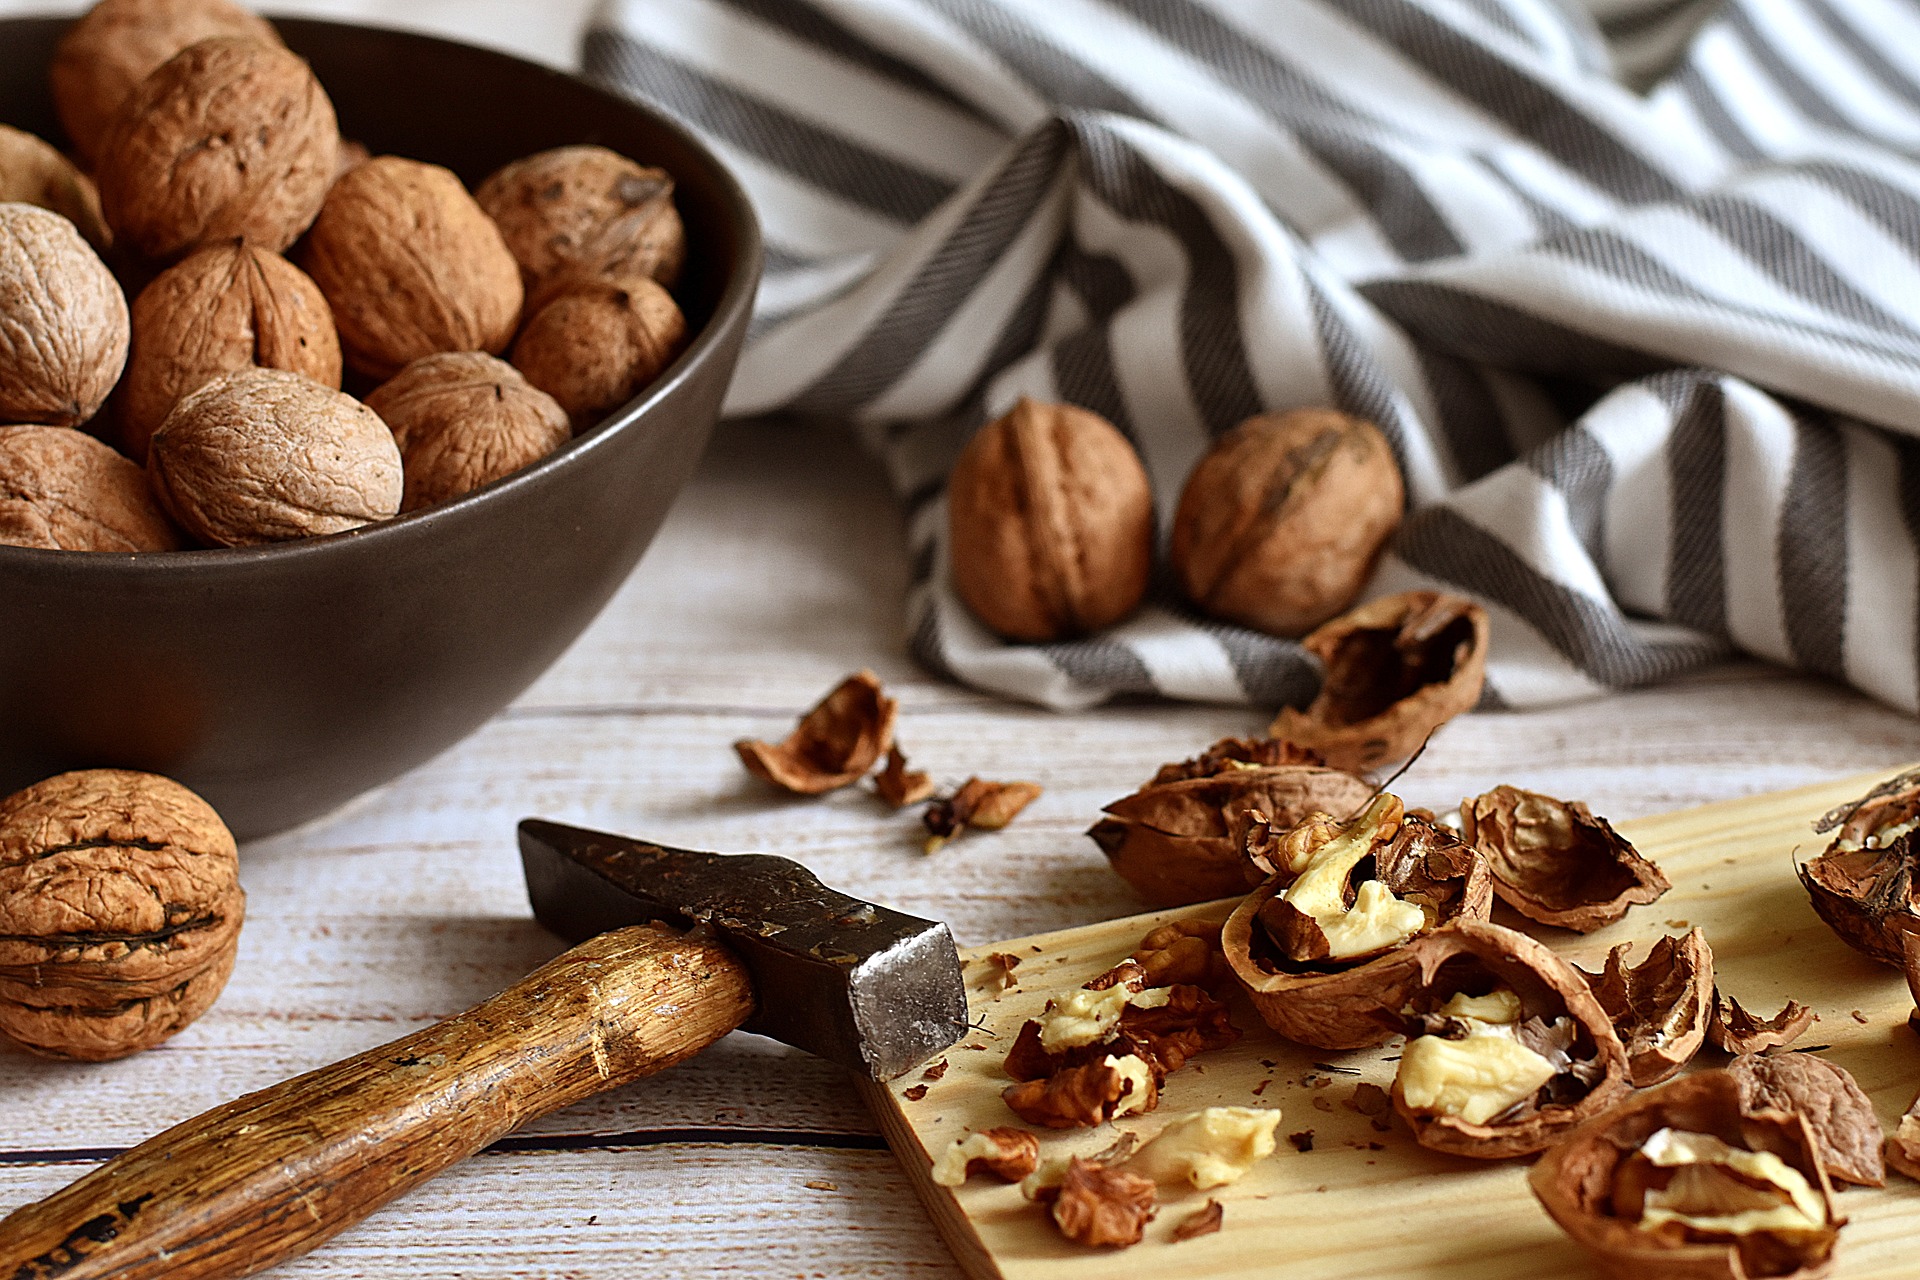
Spring is FINALLY arriving in Minnesota, and it’s time to get back into the foraging mindset. Nothing’s ready to be picked yet, but I’ve got 3 large bags of walnuts that have been drying since last fall, and it’s warm enough to start opening them. So let’s get cracking!
Materials:
dried walnuts from last fall’s harvest (you DID remember this step, right?)

Tools:
— hammer
— anvil of some kind
— eye protection
— nut pick
— pie tin
— sieve
— glass jar for meats
You need a hard surface as your anvil. I have a piece of railroad track I sometimes use, or else we have a large, conveniently shaped rock. I actually prefer the rock, because it has rough patches that “hold” the walnut in place while I strike it.
Steps:
- Hold the walnut with an end pointing up. This will help it crack better.
- With the hammer, strike the walnut firmly but not too hard. It will take 3 or 4 blows (or more) to crack it open. If you try to swing too hard, you WILL hit your fingers, send the walnut shooting off to the side, or destroy it and end up with a pile of shards. If it doesn’t crack open after a number of blows, turn it and try to find another seam.
- When it cracks apart, look at the pieces to see if you’ll be able to gets the meats out easily. If not, crack them into smaller pieces. If the meats are papery, dark, or rubbery, just throw them away. The good meats will be light-colored and firm. Put the good pieces (shells and meats) in the pie tin.
- When the pie tin is full, start sorting. Pick out the loose pieces of meats and put them in the jar. Throw the pieces of shell away. If the meat is still in the shell, use the nut pick to dig it out. If you can’t dig it out, crack it with the hammer again. Keep going until you’ve got the pie tin cleaned out.
- Repeat steps 1-4 until you’ve done all the walnuts you feel like doing. I did about 50, just to start the season. It gets tedious fast unless you have a crew of young helpers (which I do. They love the smashing part.).
- When you’re done cracking, empty the pie tin and pour the nut meats into it. Swish them around with your finger and pick out pieces of shell that got mixed in or bad nut meats. Swish the pie tin like you’re panning for gold and keep checking.
- When you think you have it all clean, hold the sieve over a wastebasket and pour the meats in. The dust won’t do any good and will make the nuts cleaner.
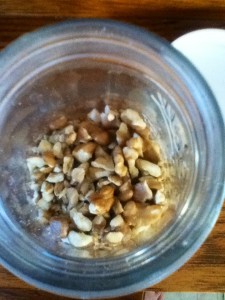
- Pour them into a jar and enjoy! From my 35 walnuts, I ended up with 1/2 cup of meats. They will be going into some delicious muffins with some of last year’s applesauce as well.
Nutritional info about walnut meats can be found here. We usually eat them fresh, but they will spoil if not refrigerated or frozen. You can also toast the meats, however. It changed the flavor a little but they will last for a long time.


5 thoughts on “Let’s get cracking! (those walnut meats)”
Foraging walnuts 101 | A Magical Life
(September 9, 2015 - 3:12 pm)[…] like I did), bring them inside and store them someplace cool like a cellar or porch. In spring, I harvest the meats and have a number of ways to preserve them and treats to make with […]
Fantastic ways to use foraged walnuts | A Magical Life
(September 9, 2015 - 3:14 pm)[…] week, I wrote about how to shell your dried walnuts and harvest the meats. Now it’s time to put them to good use! You can eat them raw or grind them and use them as […]
15 more ways to use your foraged walnuts | A Magical Life
(September 9, 2015 - 3:18 pm)[…] still busy cracking the walnuts I harvested last fall (I have over 14 cups of meats so far), and I’m still finding creative […]
Foraging walnuts 101 - A Magical Life
(September 30, 2019 - 5:55 pm)[…] like I did), bring them inside and store them someplace cool like a cellar or porch. In spring, I harvest the meats and have a number of ways to preserve them and treats to make with […]
15 more ways to use your foraged walnuts - A Magical Life
(September 30, 2019 - 6:06 pm)[…] still busy cracking the walnuts I harvested last fall (I have over 14 cups of meats so far), and I’m still finding creative ways to use them. Here […]