Science stations are wonderful for young kids.
They introduce toddlers and preschoolers to the love of science and are also great for keeping them busy while homeschooling older kids.
They’re fun, educational and easy to set up!
What is a science station?
It’s a space you stock with fun materials for a child to experiment with that involve scientific principles.
Here, our science stations are usually at the kitchen table and my little ones use them while I’m working with older kids in the same room. Science stations also work wonderfully outside, especially in nice weather.
Here are a few science stations to try in your homeschool. Many of these will work for toddlers on up, and many are so fun that older kids will happily busy themselves with them too!
Be sure to gauge the suitability of each for your child’s age and development, and always stay in the same room while your little one is using the science stations.
Baking soda and vinegar
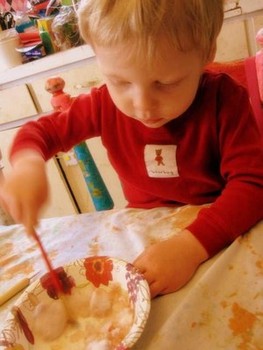
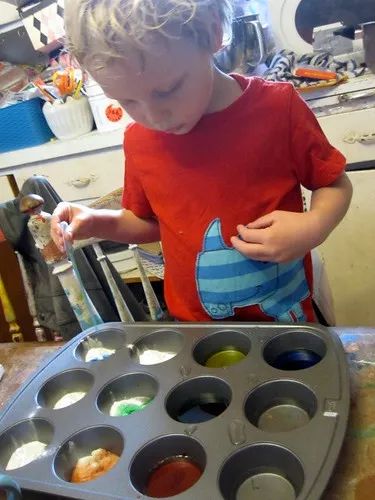 This is a classic for a reason. Kids adore making baking soda and vinegar “volcanoes.” Simply put out a small bowl of each material, along with a tiny spoon for the baking soda and an eyedropper for the vinegar.
Also give your child an empty muffin tin so they can scoop the ingredients into the cups and do the experiments again and again.
To extend the lesson, I often put out other safe materials that look the same but perform differently, such as plain water and powdered sugar. I have the kids guess what will happen with these new materials — will baking soda bubble up with water? I invite the kids to find out.
I also often tint the vinegar with a little food coloring, to make for more colorful mixtures.
Colored water mixing
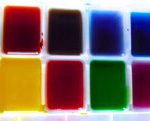 Fill the cups of an ice cube tray or muffin tin half full with water. Add food coloring to some of the cups (use primary colors) and leave about 2/3 of them clear. Give your child an eyedropper and let him squeeze colored water in all different cups to make an endless variety of colors. To extend the fun, you can also set out something white and absorbent to squeeze the colored water onto, such as an old white dishtowel, a “puppy pad” or coffee filters (put a tray underneath to catch the water).
Magnets
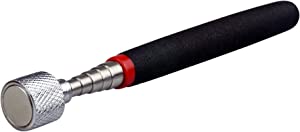 My little ones all loved to use a telescoping magnet, a metallic cookie sheet and an assortment of magnets together. The magnets and the tool stick to the cookie sheet, and they could use the magnet tool to move the magnets around from below the cookie sheet. We even put a paper target on it and let them toss the magnets at the target.
Give little ones a basket of metallic objects and let them see which ones are magnetic. You can also experiment with crushed cereal that’s high in iron and objects like magnetic marbles.
Snow
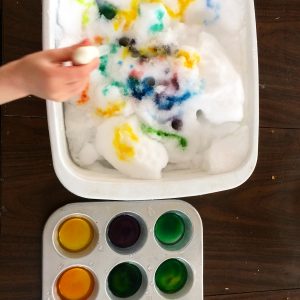 It’s hard to come by this time of year, but in a few months there will be plenty of this fun science material here in Minnesota and in much of the country.
Fill a large pan with snow and give your child a variety of things to use on it. Examples include:
- Cups with cold and hot water, along with eyedroppers to see how they each affect the snow
- Dried up markers
- Salt (talk about how salt is used on our roads in the winter and have your child guess how the snow will react to it),
- Colored water to do color mixing
Nature jars and baskets
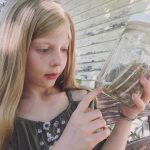
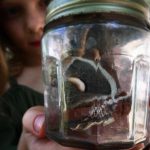 We like to keep a rotating basket of natural materials in easy reach, with a large magnifying glass to examine them. Some examples of items we’ve stocked are shells, pine cones, fossils, deserted wasp nests, birch bark, geodes, crystals, wool, milkweed pods, cicada shells, flower buds, sunflower heads (with tweezers to pull out the seeds), cattails and driftwood, found buffalo teeth and dead moths and butterflies that we found of all different types, just to name a few.
Magnifying glasses and hand-held microscopes
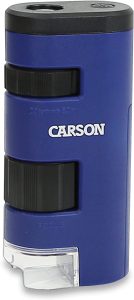 Give your child a basket of fun items and a hand-held microscope or magnifying glass, and encourage her to see what the objects look like magnified. Some great objects include money (there are so many hidden details, symbols and patterns!), fossils, printed papers, the palm of your child’s hand, hair and leaves. We use inexpensive pocket microscopes and they are an unbelievably fun scientific tool that do an amazing job at magnifying objects for a really small cost.
Produce Dissection
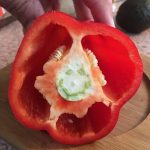 What better way to learn about botany than by dissecting a few fruits and vegetables?
Give your child a variety of types of produce and a serrated knife (a plastic one works great). Invite your little one to saw the fruits and veggies in half and look at the insides.
You can also set up a stamp pad or a small tray of tempera paint to make impressions of the items.
Good specimens include mushrooms, peppers, cherry tomatoes, green onions and grapes. Talk about what part of the plant each item is and ask your child to try to find seeds, too.
These are just a few of the hundreds of possibilities that exist, of course.
Think about the types of science and of scientific principles and just open your cupboards and drawers for inspiration. It’s an easy way to help your children develop a love of science — and get a little free time, as well.
***
This post contains affiliate links. Thanks for your support!
