Marbled Jars
Here's a fun way to recycle those glass jars and bottles. These look beautiful on a sunny windowsill and make great gifts too!
You will need:
- Assorted glass jars or bottles
- Paint -- Any kind will work but some will be more durable. Keep in mind that most paints will not be waterproof, so if you want to make vases you will need enamel or glass paint. We just use kids' craft paint.
- Lots of newspapers
- Paintbrushes, disposable spoons and/or sticks (optional)
Directions:
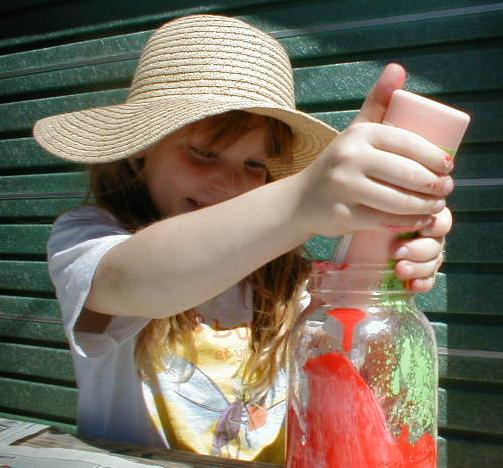
Find a well ventilated area, preferably outside. Spread out newspapers and give each child one jar. Have the kids squeeze, spoon or paint the paint on the inside of
the jar. Use a little at a time and then roll the paint around inside the coat the jar or paint with a paintbrush.
Be sure the paint doesn't all pool at the bottom! If you have a lot on the bottom, tilt the jar and let the paint roll around the sides some more.
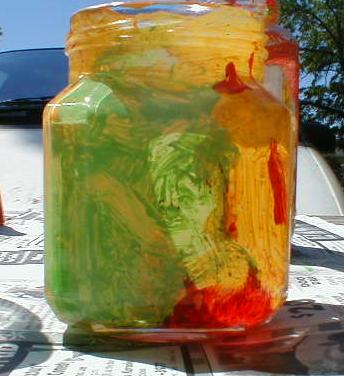
Use different colors to make whatever design you like. It's fun to drop some paint in and then twirl the jar in all different directions to watch the patterns that the dribbling makes inside. If you like, you can carve designs into the paint with a stick and then after it dries pour another color on top. Your new color will show through the scraped parts.
Other techniques to try:
- Dribble some paint inside and then roll it around to make stripes or spirals around the jar. Then dribble some more and try to make stripes going in other directions or in other colors.
- Paint a picture with a paintbrush, let dry, and then coat the inside with white to showcase your picture.
- Pour in some paint and add a few marbles. Let them roll around in the paint and leave paint tracks. Let dry a little, then repeat with another color. When dry, coat with a contrasting
color as a background.
- Pour in some paint and add a small rubber ball. Screw on the lid and shake the jar to bounce the ball through the paint and onto the sides. Repeat with other colors and experiment with other things inside the jar (small pieces of sponge, wadded up tinfoil, a cotton ball...).
- When the jar is finished, wrap a strip of electrical tape around the mouth of the jar to make it look more polished or tie with ribbon or twine.
- Do note that some paints will chip fairly easily and these jars should not be used for anything that will be used around food. If you like, you can put a plastic garbage bag in to protect the sides from sharp scissors and tools scratching the design. Or just consider that part of the charm. :)


To the Crafts Index
All works on this site Alicia Bayer unless otherwise noted.
Don't take it - that would be rude.


